Published November 4, 2026
Chimney Cap Installation in Ridgewood, NJ: What It Costs and What the Job Actually Involves
A properly fitted chimney cap helps protect your chimney from rain, snow, leaves, and unwanted animals. Without one, an open flue can allow moisture and debris to enter the chimney, potentially contributing to deterioration, blockages, and maintenance problems.
For homeowners in Ridgewood and throughout Bergen County, chimney cap installation is a practical way to protect an exposed flue. The right cap depends on the chimney’s construction, number of flues, material, and exposure to weather.
This guide explains what affects chimney cap installation costs, what the service usually includes, and what homeowners should expect during the installation process.
What Does Chimney Cap Installation Cost in Ridgewood?
The cost of chimney cap installation depends on the cap material, dimensions, number of flues, roof accessibility, and condition of the chimney.
A basic single-flue cap generally costs less than a custom-fabricated cap covering several flues. Stainless steel and copper models also tend to cost more upfront than standard galvanized steel options.
There is no reliable public pricing schedule specifically for Ridgewood, so homeowners should treat online estimates as general planning references rather than guaranteed local prices.
Before approving the work, request a written estimate that separates the cap, installation labor, and any additional repairs. This makes it easier to understand the total cost and compare quotes from different contractors.
What Factors Affect Chimney Cap Installation Costs?
Several details can influence the final installation price.
1. Cap Material
Chimney caps are available in several materials, including galvanized steel, stainless steel, and copper.
-
Galvanized steel: Usually a lower-cost option, but its protective coating can deteriorate over time and expose the metal to rust.
-
Stainless steel: Offers better corrosion resistance and is a common choice for homeowners looking for durability and relatively low maintenance.
-
Copper: A premium option that develops a natural patina over time. It generally costs more than standard steel caps.
The Chimney Safety Institute of America identifies galvanized steel, stainless steel, and copper as common chimney cap materials. It notes that stainless steel and copper generally last longer than regular galvanized steel.
2. Flue Size and Number
The cap must fit the chimney’s actual dimensions and configuration.
A single-flue chimney may need a cap that attaches directly to the flue tile. A chimney with multiple flues may require a larger cap that covers the entire chimney crown.
Oversized, irregular, or unusually shaped chimney openings may require a custom-sized product. Accurate measurements help ensure that the cap fits securely without interfering with the flue opening.
3. Chimney Height and Roof Accessibility
Installation costs can increase when a chimney is difficult to reach.
A low roof with straightforward access generally requires less setup than a tall chimney on a steep or complicated roof. Additional equipment, safety arrangements, or scaffolding may be necessary for certain installations.
The contractor should evaluate access conditions before providing a final estimate.
4. Chimney Crown Condition
The chimney crown is the masonry or concrete surface at the top of a masonry chimney that helps direct water away from the structure.
If the crown is cracked, deteriorated, or unstable, it may need attention before the cap can be installed securely. The appropriate repair depends on the condition and construction of the crown.
Crown repair should be listed separately in the estimate, so homeowners understand which costs relate to the cap, and which relate to masonry work.
5. Mesh and Spark Protection
Some chimney caps include mesh screens that help keep animals and larger debris out of the flue. Certain configurations also serve as spark arrestors.
When a spark arrestor is required, its mesh must meet the applicable requirements. NFPA 211 specifies that openings must prevent the passage of spheres larger than 1/2 inch while allowing spheres smaller than 3/8 inch to pass. It also specifies requirements for screen material, airflow, and access for cleaning.
The original draft’s reference to 3/4-inch openings was incorrect. The screen should be selected according to the applicable code, chimney type, and cap manufacturer’s specifications.
What’s Included in a Chimney Cap Installation?
A standard installation generally includes the cap, suitable mounting hardware, and the labor required to fit and secure it.
The exact procedure depends on the cap design.
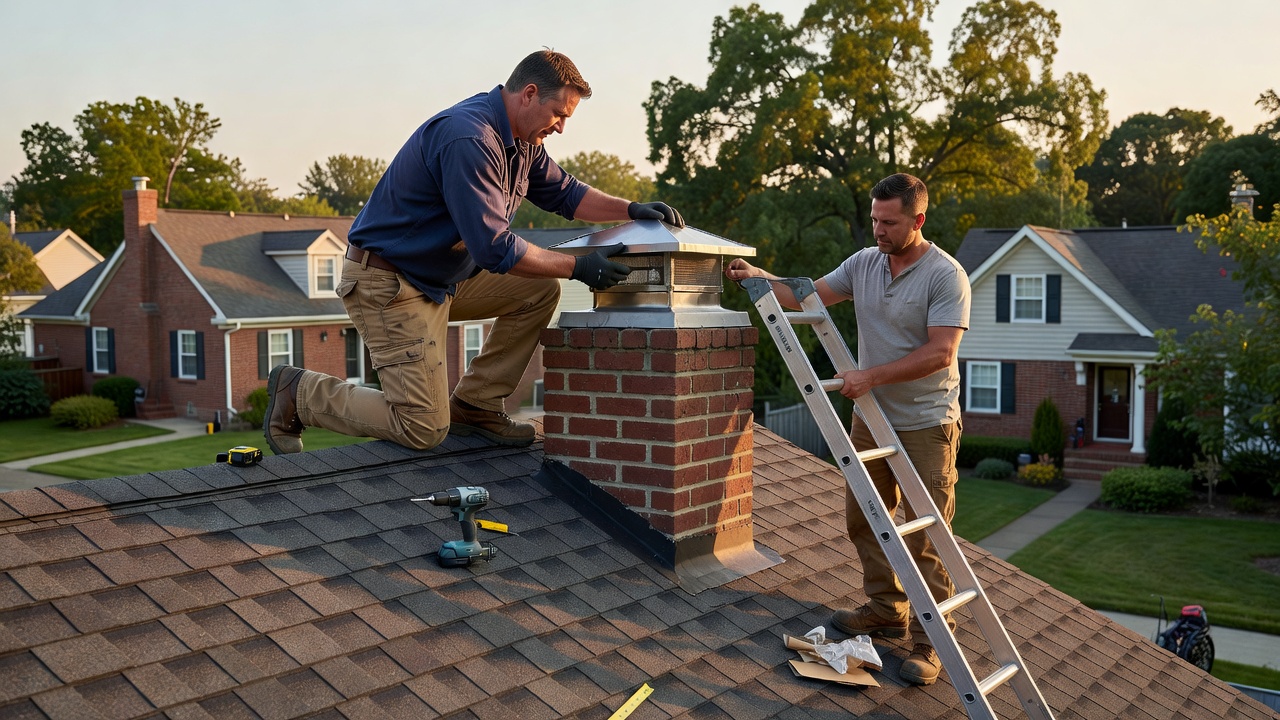
For a single-flue cap, the mounting collar may slide over the outside of the flue tile and be secured with set screws. A multi-flue cap may attach to the masonry crown using appropriate fasteners and installation methods.
Before installation, the technician should check that the selected cap is compatible with the flue and does not restrict the required exhaust flow.
Additional services may include:
-
Removing an old or damaged chimney cap.
-
Clearing accessible debris around the flue opening.
-
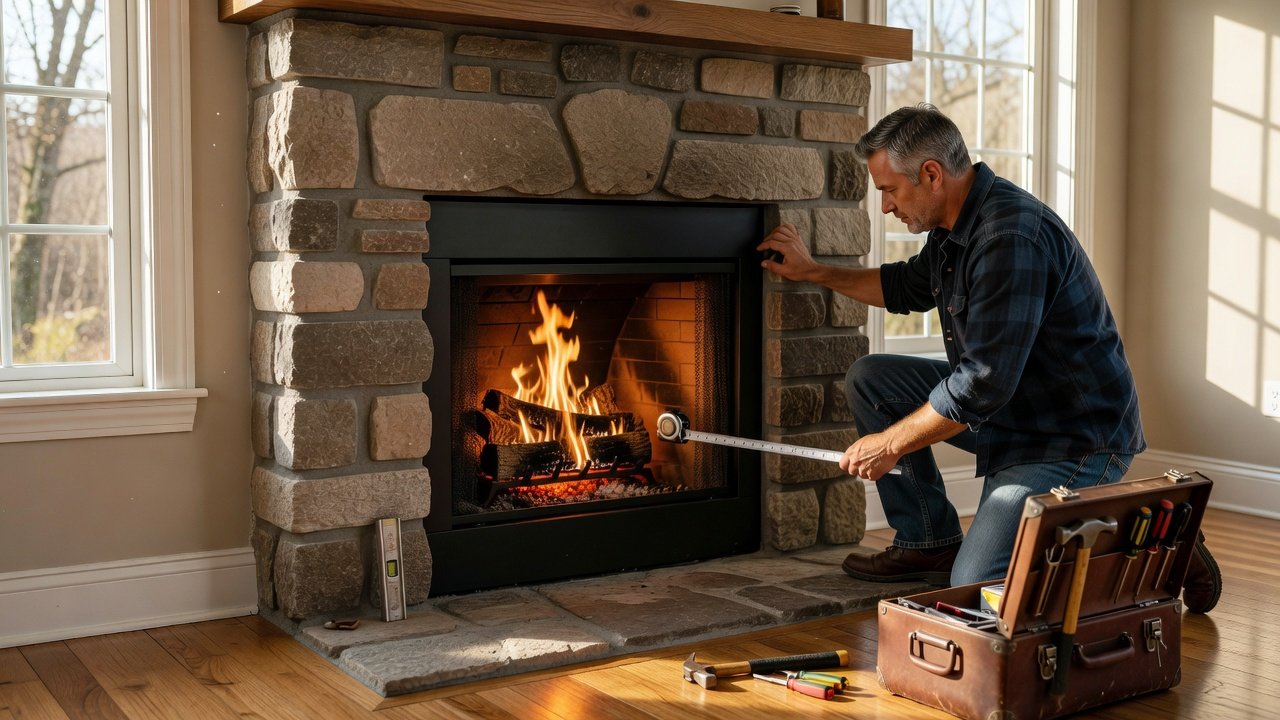
Measuring the flue or chimney crown.
-
Checking the visible condition of the crown.
-
Repairing damaged masonry when necessary.
-
Installing a replacement cap with suitable fasteners.
-
Confirming that the cap is secure and that its screen is unobstructed.
A full chimney inspection is a separate service unless it is specifically included in the estimate. Ask the contractor to clarify whether the appointment includes a Level 1 or Level 2 inspection.
Chimney Cap Installation: What Happens from Start to Finish?
Understanding the installation process helps homeowners know what to expect when hiring a chimney professional.
Step 1: Inspect and Measure the Chimney
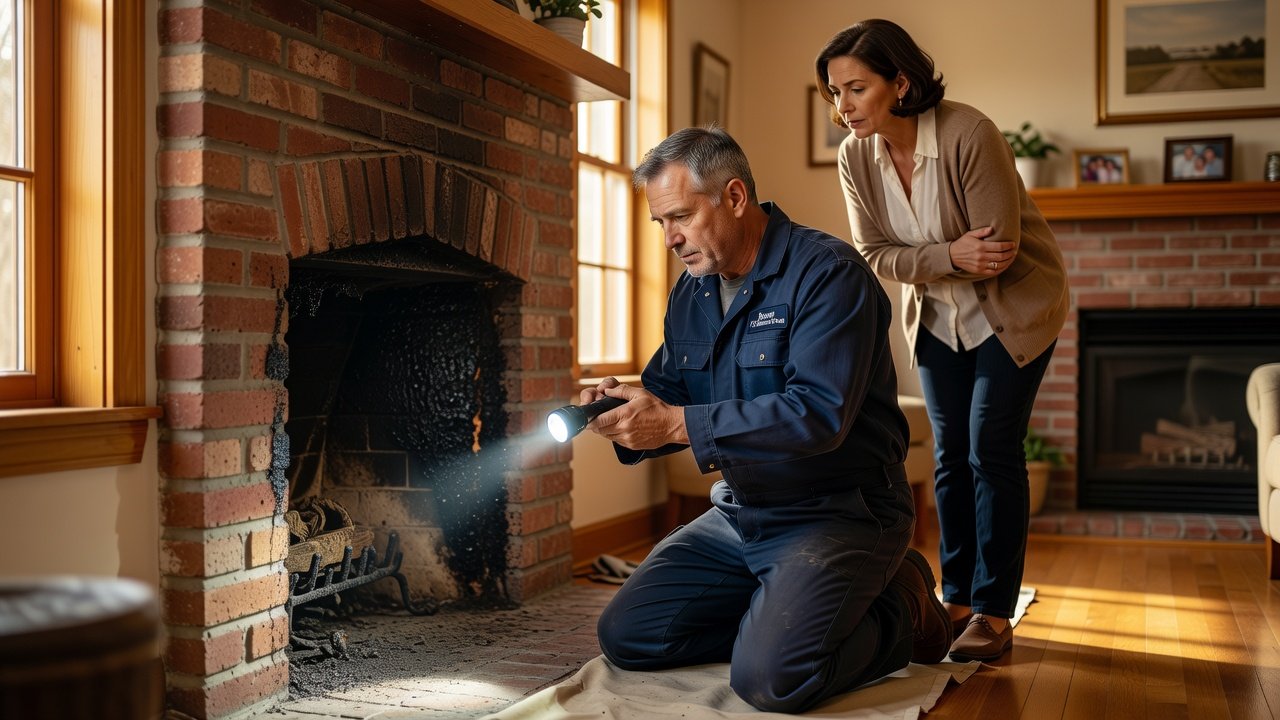
The technician examines the chimney top and determines the type of cap required. Measurements are taken to identify the appropriate dimensions and mounting configuration.
The technician should also look for visible damage that could affect installation, such as a deteriorated crown or damaged flue tile.
Step 2: Prepare the Installation Area
If an old cap is present, the technician removes it when necessary. Accessible debris around the flue opening may also be cleared so it does not interfere with the new cap.
If the chimney needs masonry repairs, those should be discussed before proceeding with installation.
Step 3: Position and Secure the New Cap
The cap is positioned according to its design and manufacturer’s instructions.
Single-flue caps commonly attach to the flue tile, while multi-flue caps may attach to the chimney crown. The correct fasteners and mounting method help prevent the cap from shifting or becoming dislodged.
Step 4: Check the Finished Installation
After installation, the technician should check that the cap is secure, properly positioned, and free of obvious obstructions.
The screen should be accessible for cleaning when required. The installation should also preserve adequate airflow through the flue.
A chimney cap can help limit direct rain entry through an open flue, but it does not repair a leaking crown, failed roof flashing, or deteriorated masonry. Those problems require separate evaluation.
How to Avoid Overpaying for Chimney Cap Installation
Getting more than one estimate can help you understand the available options and compare prices.
Before choosing a contractor, ask for the following details:
-
Material: Is the cap galvanized steel, stainless steel, or copper?
-
Dimensions: Is it a standard size or a custom-fabricated model?
-
Configuration: Is it designed for one flue or multiple flues?
-
Installation method: How will the cap be secured?
-
Additional work: Does the price include crown repair or only cap installation?
-
Warranty: What coverage applies to the cap and installation labor?
-
Inspection: Is a chimney inspection included or charged separately?
Avoid accepting a vague estimate that only says “chimney cap installation.” A detailed written quote helps you understand what you are paying for and reduces the risk of unexpected charges.
Schedule Chimney Cap Installation in Ridgewood, NJ
A properly selected and installed chimney cap can help reduce the entry of rain, animals, and debris through an exposed flue. However, the right product must match the chimney’s dimensions, construction, and intended use.
Ridgewood Chimney serves Ridgewood and surrounding Bergen County communities, including Glen Rock, Ho-Ho-Kus, and nearby towns. Contact the company to discuss your chimney’s condition, available cap options, installation costs, and appointment availability.
Call Ridgewood Chimney or use the contact form to request a chimney cap installation estimate in Ridgewood, NJ.
Serving your area: For related services in nearby communities, see Vineland Chimney and Roslyn Chimney.
Related from Ridgewood Chimney: Chimney Repair in Ridgewood, NJ · Chimney Sweep Cleaning Repair Ridgewood NJ in Glen Rock
Our services
Chimney Repair in Ridgewood, NJ · Chimney Repair in Ridgewood, NJ · Chimney Repair in Ridgewood, NJ · Chimney Repair in Ridgewood, NJ · Chimney Repair in Ridgewood · Chimney Repair in Ridgewood, NJ
Areas we serve
Ridgewood, NJ · Ridgewood, NJ · Ridgewood, NJ · Ridgewood, NJ · Paramus, NJ · Ridgewood, NJ · Ridgewood, NJ · All areas →